Killing Floor Web Admin
From CyberWurx Customer Wiki
Document in progress
The Killing Floor web admin tool is a very easy server administration tool. Knowing how to use this tool is very useful.
Contents |
Set Up the Administrator
To set up the admin user, first you will need to login to the gamepanel. If you do not know how to use the gamepanel, read up on this guide: The basics of CWGamepanel.
You will need to go to the Server Details section of the gamepanel to configure startup commands for your server. Make sure you are working with your Killing Floor server.
Change the following fields to match your user prefrences:
Admin Name
and
Admin Password
Click Save Changes, then restart your server.
Access the tool
To access the tool, simply open a web browser and type the following url:
http://XX.XX.XX.XX:8075
Where XX.XX.XX.XX is your gameserver's IP.
There will be a user/password prompt. Use the Admin Name and Admin Password that you used above.
Congrats! You logged into the web admin!
- Before reading on, click around and see if you can figure out the tool. It is pretty easy to understand.
Configure your Killing Floor Server
The web tool is useful for changing everything in your server. Here is a quick guide on the useful basic administration options.
Changing the Killing Floor Server Name
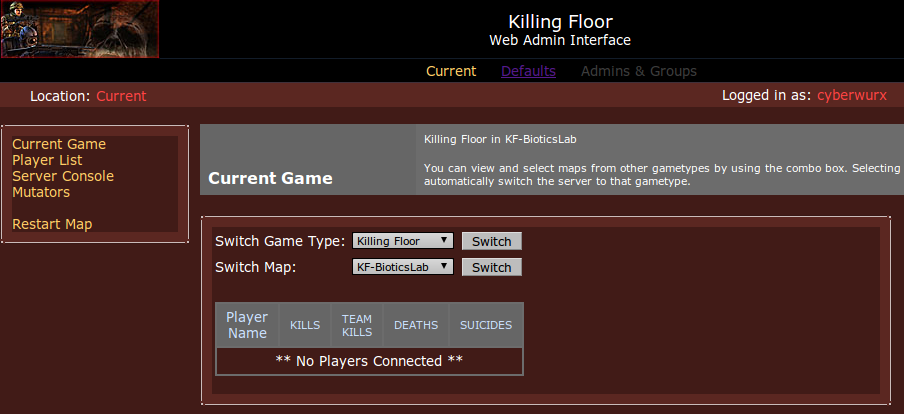
As you have noticed, you are at the main screen for the web administration. If you click Defaults you can change information regarding your server.
In this section of the guide, we are going to concentrate on changing the server's name. Click the Server link on the left side.
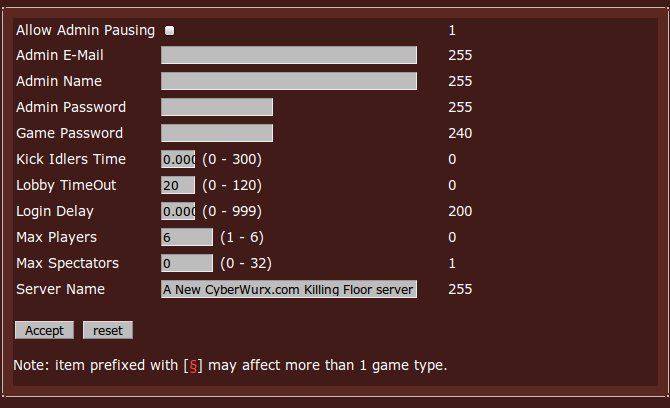
You should see a screen similar to this:
To change the server's name, place your cursor inside the Server Name section and rename it to whatever you like. This Server Name will appear in the server browser when users are finding servers to play on.
Click 'Accept and the changes will be saved.
Changing other useful Configuration Options
As you can see, there are other options listed here. Here is a breakdown of what each section means.
Allow Admin Pausing
This will allow the admin to pause the game for whatever reason.
Admin E-Mail
The administrators email. Shows up in the UT server information.
Admin Name
The name of the server administrator.
Game Password
If you want to make your game private, put a password here. This is required upon connect.
Kick Idlers Time
If you want to kick idle players, put a value here. (In seconds)
Lobby TimeOut
This will kick idle players at the lobby.
Login Delay
Max Players
This is not changed and is hardset by the CLI
Max Spectators
This is the amount of spectators allowed to join in. Note: If you change this value you will be charged for TV slots.
Server Name
As explained above, the server name is what is shown when players are looking through the server browser.
Modify Map List
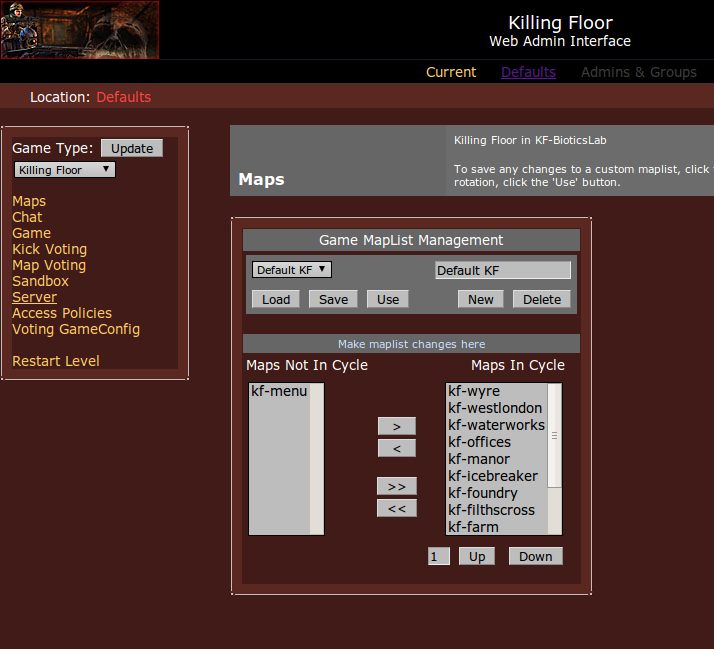
If you click on the Maps section of the web admin, you will see there is a list of default maps. These maps will be used on your server in rotation. If voting is enabled, these maps will be listed when the vote is enabled.
Removing Maps
You can select a map and click on the "<" remove button. This will remove the map from rotation and place it on the Maps Not In Cycle list.
Adding Maps
If you want to add a map to the rotation, simply select the map from the Maps Not In Cycle area and click the ">" add button.
- The map kf-Menu will break your server's gameplay. Do not add this map to the rotation
Saving your Rotation
If you want to save your rotation you can use the map list naming tool (located above the rotation list). You can create a new map list name on the right side. The advantages of having multiple map lists is you can swap between map rotations later.
Turning on Map Voting
By default, map voting is enabled. If you want to disable this, click on the Map Voting section. Here, you can tweak voting settings.
Disabling Voting
Click off the Enable Map Voting option.


